Published
2 years agoon

How to set up reverse DNS for a private IP address on an Ubuntu server. Reverse DNS lookup is used to map an IP address to a domain name, but this is typically done for public IP addresses, not private ones.
Private IP addresses like 10.0.0.1 are commonly used within internal networks (e.g., home or office networks) and are not routable on the public internet. Reverse DNS for such addresses would be managed within the local network and not by public DNS servers.
If you need to set up reverse DNS for a private IP address within your local network, you would typically configure this on your internal DNS server (e.g., using BIND, Microsoft DNS, etc.).
To set up reverse DNS for a private IP address (e.g., 10.0.0.2) on an Ubuntu server, you would typically use BIND (Berkeley Internet Name Domain). Below are the steps to configure BIND for reverse DNS:
First, you need to install BIND on your Ubuntu server.
bash code:sudo apt update
sudo apt install bind9 bind9utils bind9-doc

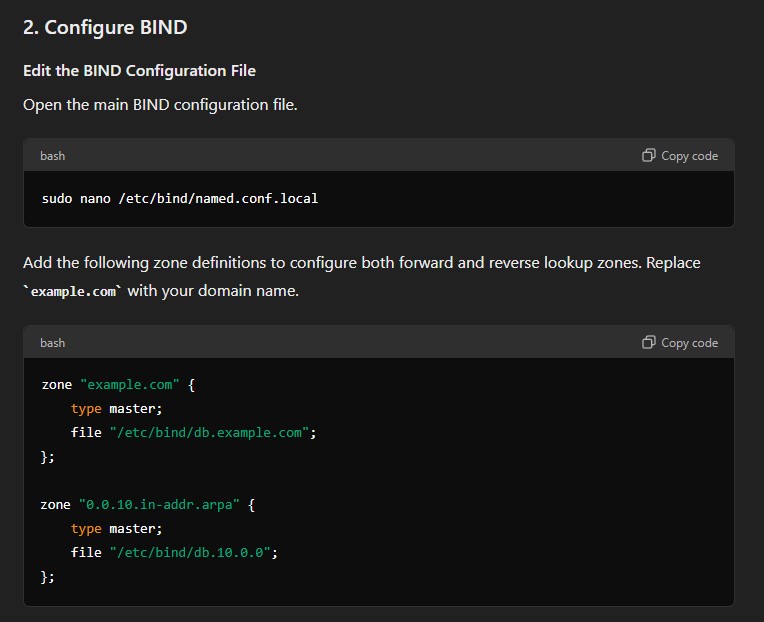
Open the main BIND configuration file.
bashCopy codesudo nano /etc/bind/named.conf.local
Add the following zone definitions to configure both forward and reverse lookup zones. Replace example.com with your domain name.
bashCopy codezone "example.com" {
    type master;
    file "/etc/bind/db.example.com";
};

zone "0.0.10.in-addr.arpa" {
    type master;
    file "/etc/bind/db.10.0.0";
};

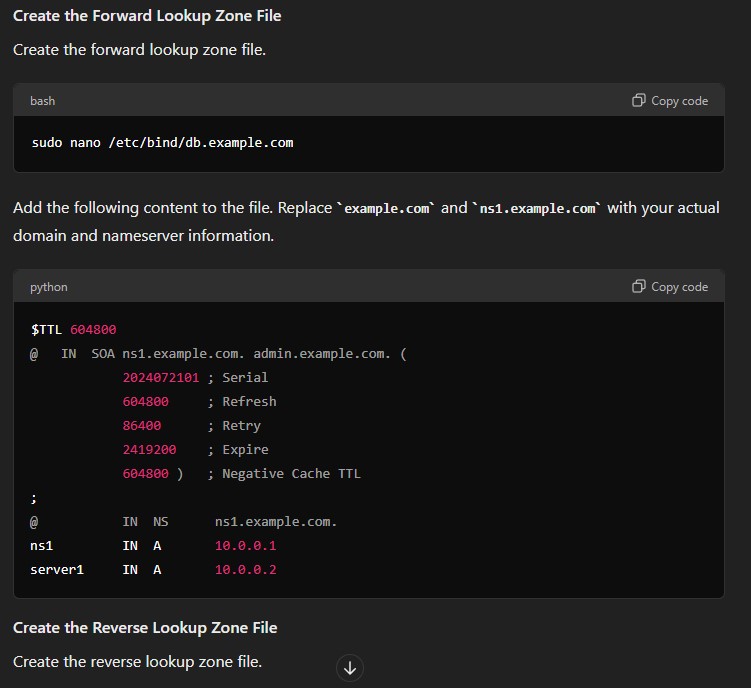
Create the forward lookup zone file.
bashCopy codesudo nano /etc/bind/db.example.com
Add the following content to the file. Replace example.com and ns1.example.com with your actual domain and nameserver information.
pythonCopy code$TTL 604800
@   IN  SOA ns1.example.com. admin.example.com. (
            2024072101 ; Serial
            604800     ; Refresh
            86400      ; Retry
            2419200    ; Expire
            604800 )   ; Negative Cache TTL
;
@           IN  NS      ns1.example.com.
ns1         IN  A       10.0.0.1
server1     IN  A       10.0.0.2

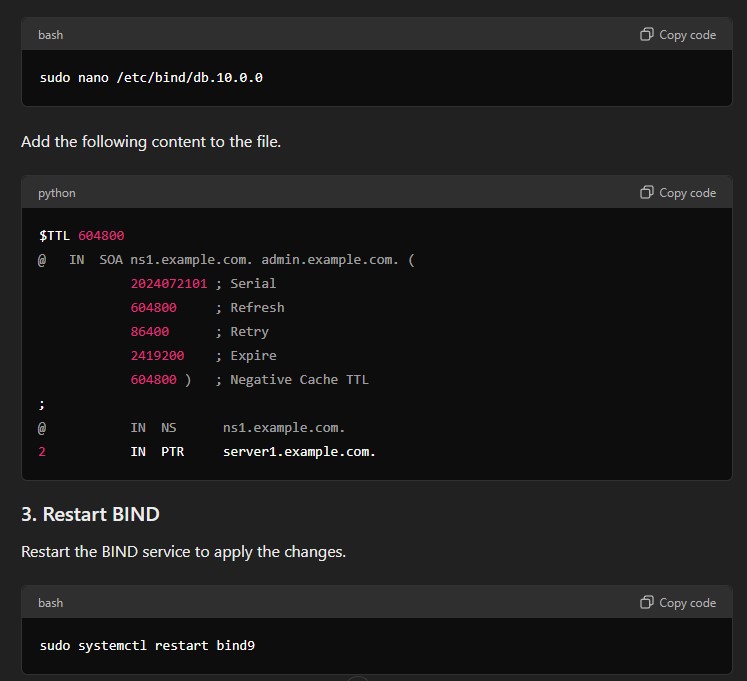
Create the reverse lookup zone file.
bashCopy codesudo nano /etc/bind/db.10.0.0
Add the following content to the file.
pythonCopy code$TTL 604800
@   IN  SOA ns1.example.com. admin.example.com. (
            2024072101 ; Serial
            604800     ; Refresh
            86400      ; Retry
            2419200    ; Expire
            604800 )   ; Negative Cache TTL
;
@           IN  NS      ns1.example.com.
2           IN  PTR     server1.example.com.

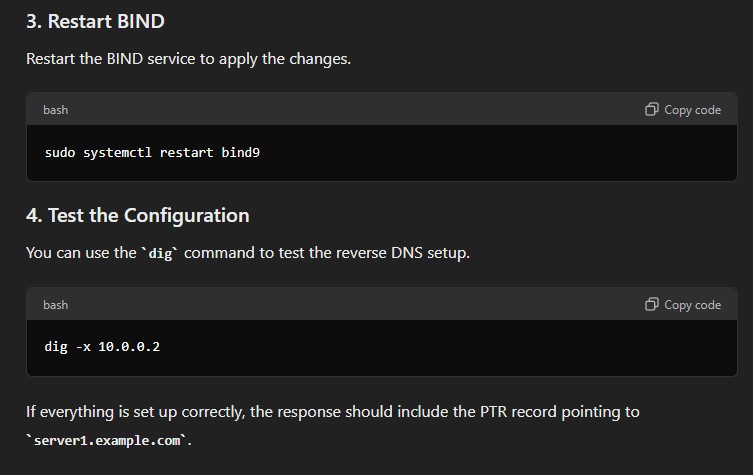
Restart the BIND service to apply the changes.
bashCopy codesudo systemctl restart bind9
You can use the dig command to test the reverse DNS setup.
bashCopy codedig -x 10.0.0.2
If everything is set up correctly, the response should include the PTR record pointing to server1.example.com.

/etc/bind/named.conf.local to add zone definitions./etc/bind/db.example.com)./etc/bind/db.10.0.0).dig.This configuration provides a basic setup for reverse DNS on a private network using BIND on an Ubuntu server.
Need More Tech Help Download the URBT News APP – Download the URBT News App from your App store. Apple / Andriod
Joseph Collins CEO of Urban Television Network Corp.


JOBS Act Enforcement – Lessons From Early SEC Probes


Should We Listen When a Man Calls a Woman Ugly? A Book Challenges the Question Entirely


Presenting Hong Kong VPS Server Hosting by TheServerHost


O2 and Onyx Scrubs and Accessories Launches in Brandon Exchange Mall


Invest in URBT: Profit, Fame, and Africa’s Global Entertainment


Why Urban TV Network Corp URBT Is Poised to Transform Africa’s Media Landscape